Teacher Steps for Self-Registration with High Administrator Support
There are two main processes by which a teacher can complete self-registration when a district has an account administrator. An invitation can be sent from the school or district administrator (best practice) or a teacher can request an invitation to complete self-registration. The following steps through how teachers complete registration with each option.
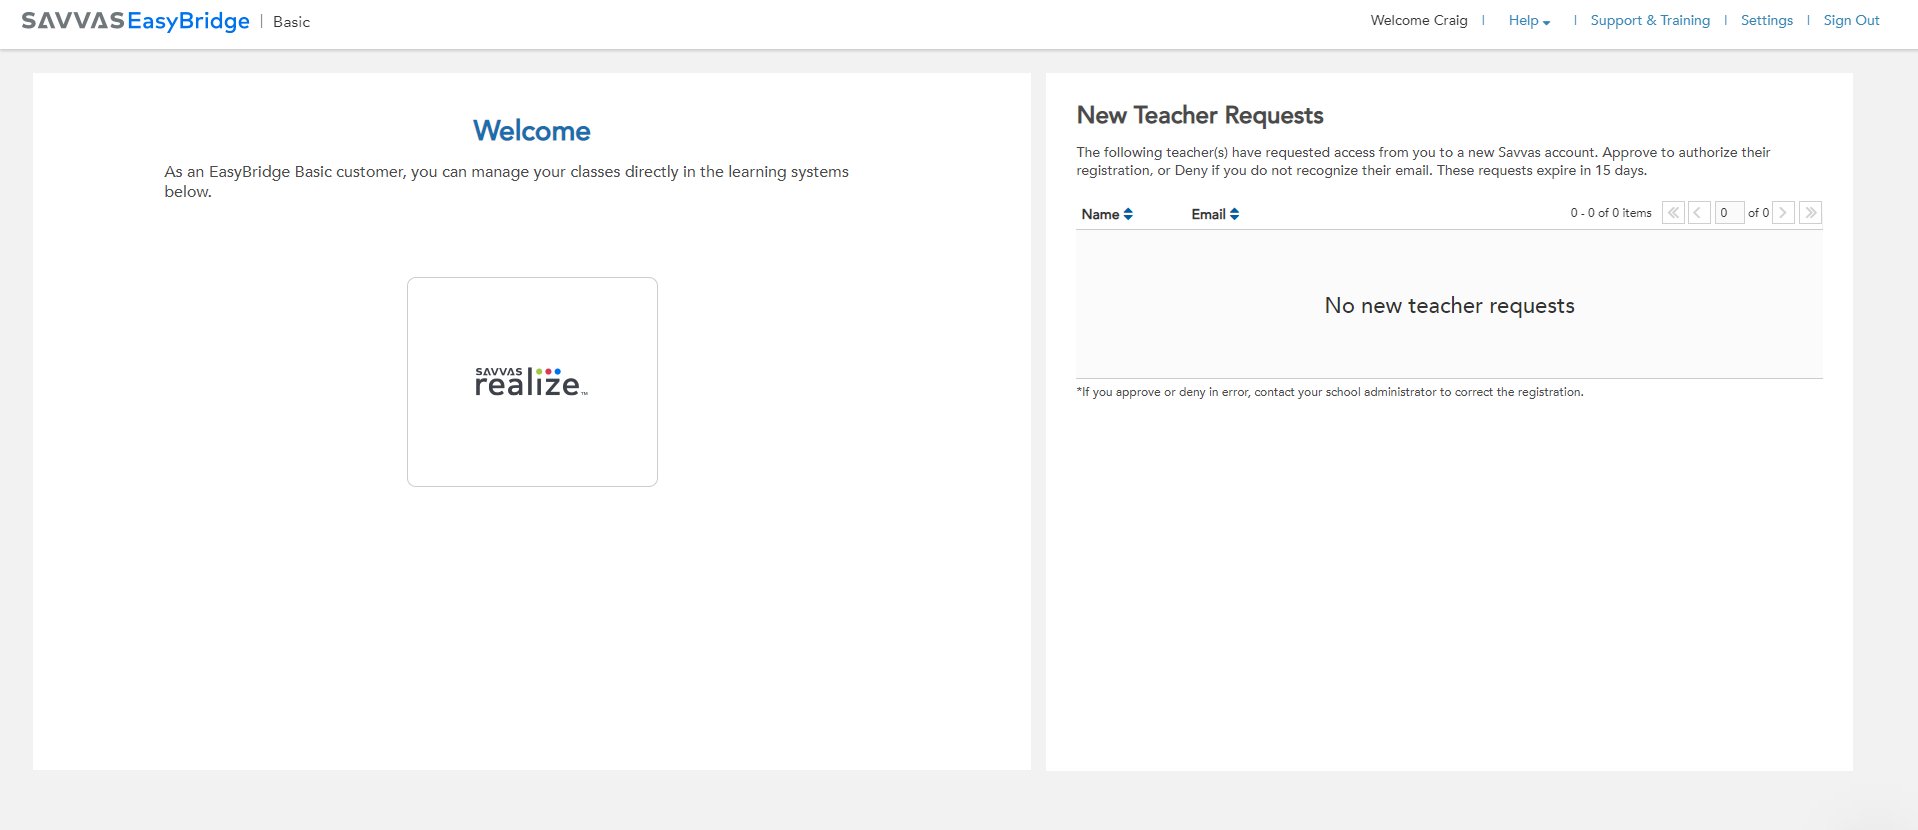
A teacher can complete self-registration after receiving an email via EasyBridge from their account administrator. The email comes from noreply@k12easybridge.com.
If a teacher does not see an email from noreply@k12easybridge.com, suggest they check their spam folder.
After receiving the email, the teacher follows the steps below to create an account:
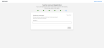
- Select Go to SavvasEasyBridge.com in the email. A new browser window opens to the Teacher Account Request form. Teachers who receive an invitation from a district administrator see the screen below. These teachers can select the blue Find Your School button, and select their school from the list provided. The email address is automatically populated.


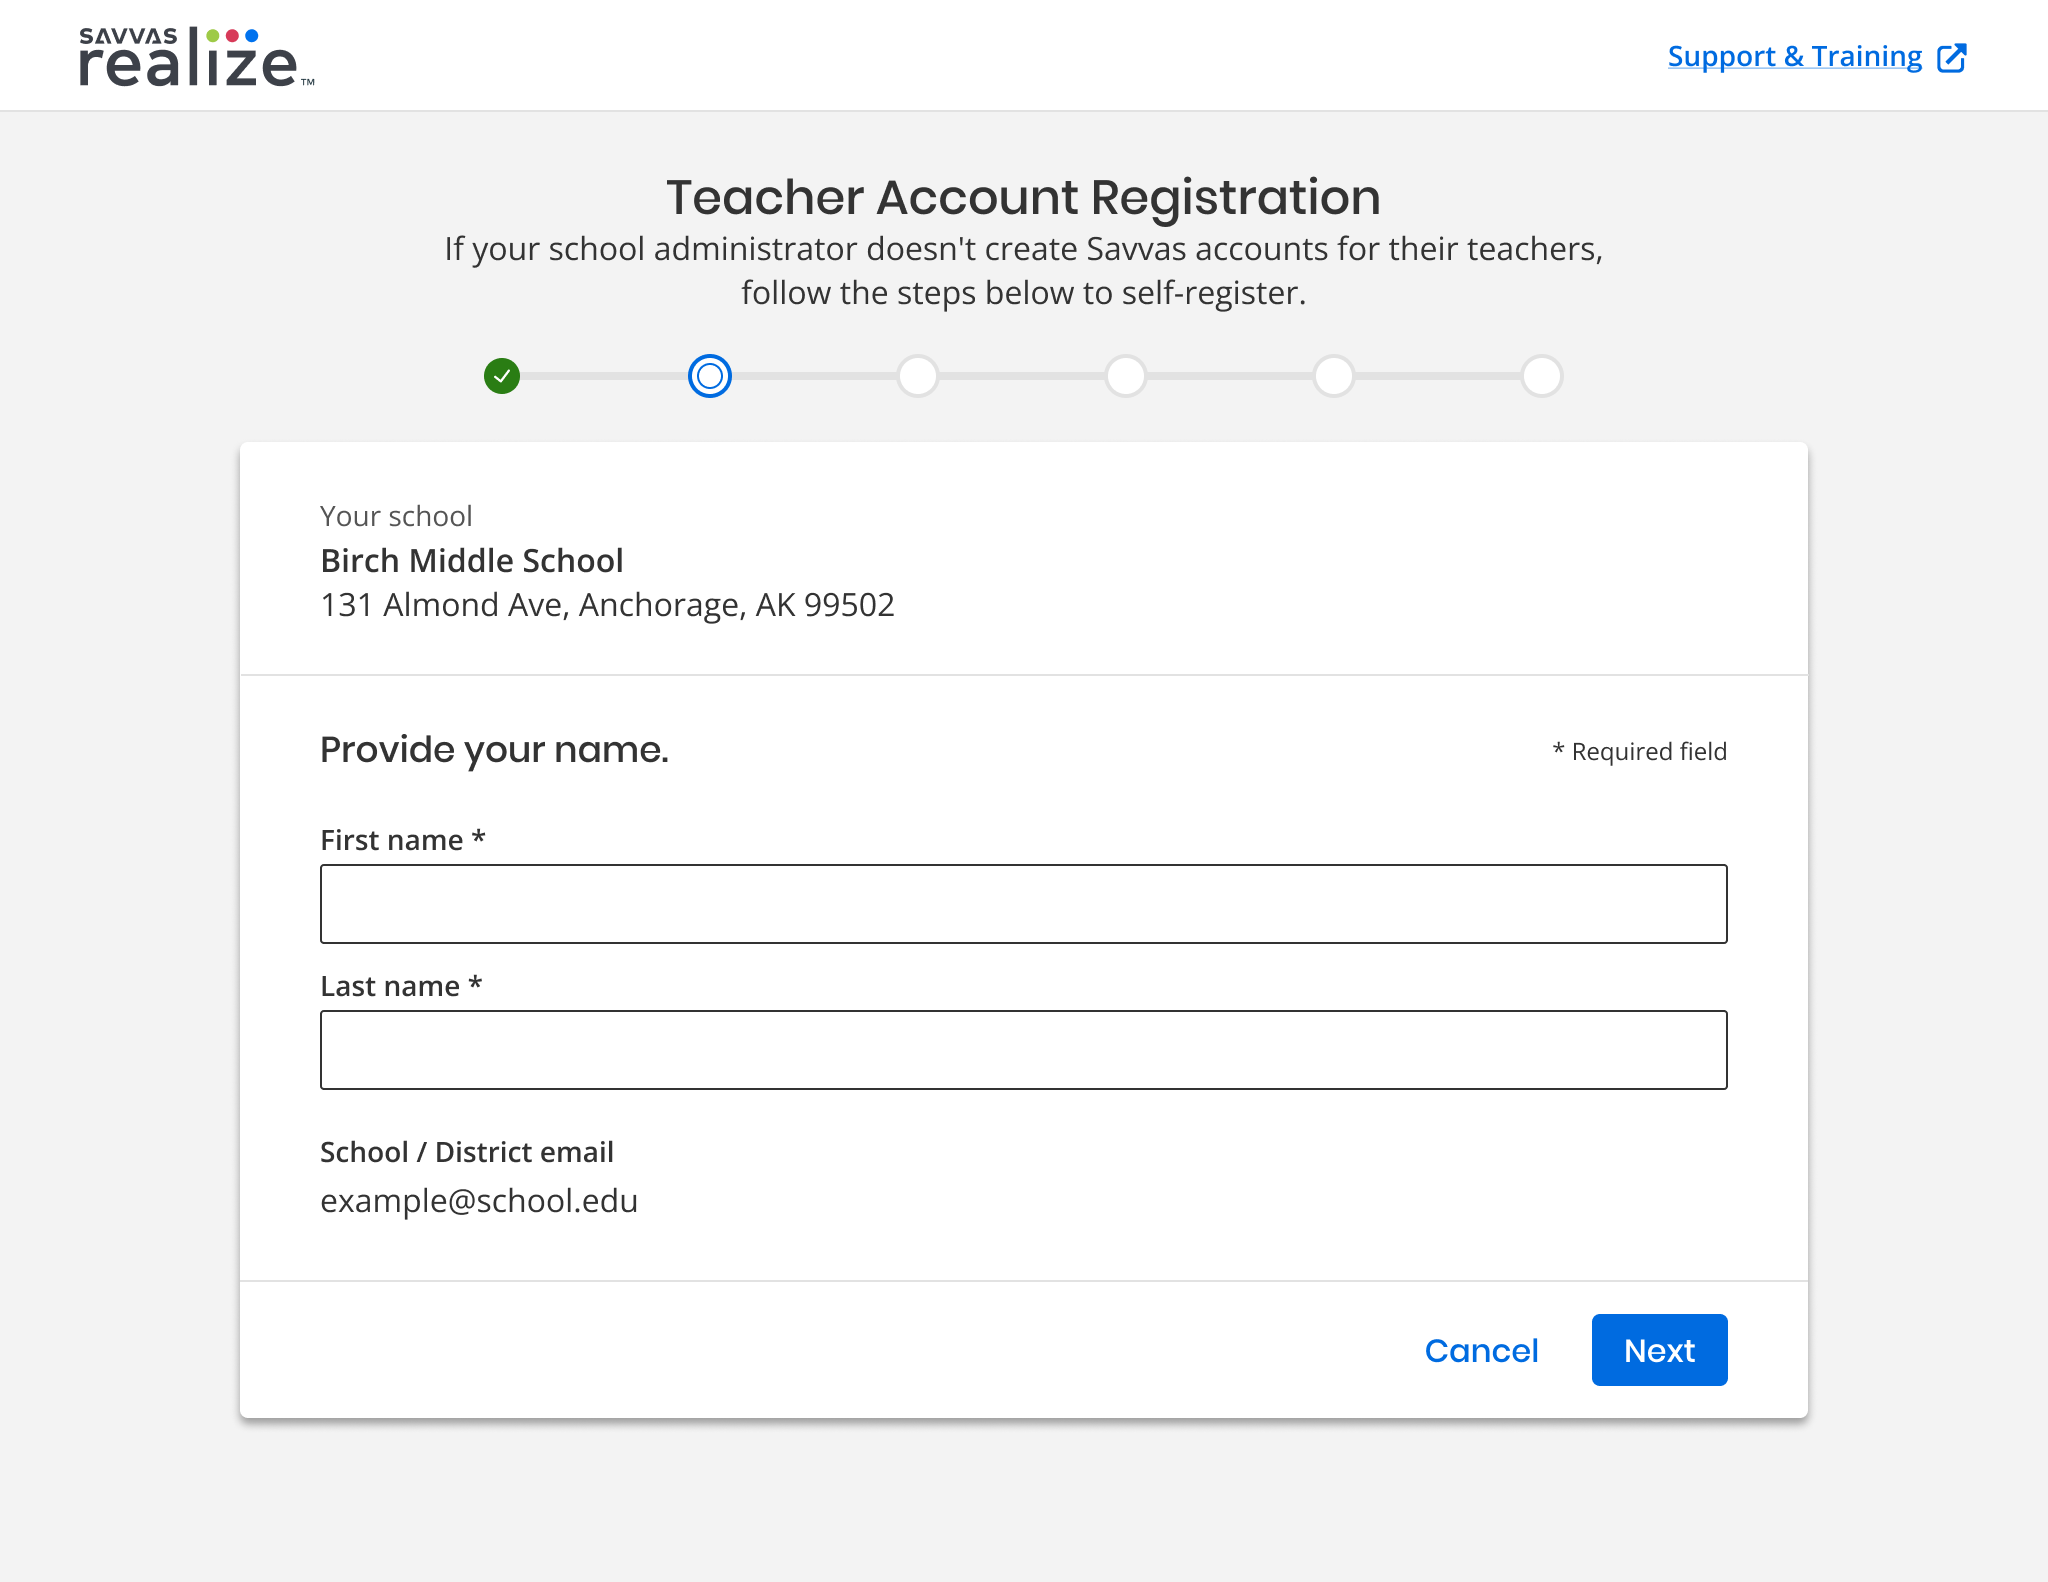
Teachers who receive an invitation from a school administrator, can see a screen similar to the one below. The email address and school information are automatically populated.

- Enter the first name and last name. Select Next.
- Verify the information for the account registration is correct. Check the box to confirm as a teacher and select Confirm. To change anything, use the Back button.
If not having an existing account, the application prompts to enter a username on the next screen. Usernames must be unique.
If you already have an account, the application prompts you to use your existing account, or create a new account.
- Enter username. The application automatically checks if the username is already in use, too short, or available.
A message displays on the screen that informs to check the email for a temporary password. The emails are sent from noreply@k12easybridge.com.
Be sure to check the spam folder if you have not received an email with the temporary password.
- Select Sign in on the email. A new browser window opens that allows the teacher to login using the username just created as well as the temporary password sent to the email.
The application prompts to change the password the first time log-in.
- Select the link for the desired Savvas program.


A teacher can request an invitation to register from any of the integrated Savvas programs . Follow the steps below to request an invitation and complete self-registration.
- Go to Savvas Realize and select Sign up. The landing page appears below.

- Select Register in the Teacher box. The Teacher Account Request form appears.
-
Find the school by selecting the search button. Enter a minimum of the required School Zip Code and School Name, and select Search.
Helpful tip: to prevent the school from not being found, enter the beginning of the school name, select Search, and then select the school from the list returned.
- Select the radio button for the correct school from the Search Results and select Next.
- Verify the school selected is correct. (Select Back button to select a different school.)
- Enter the first name, last name, and school or district email address. Select Next.
Helpful tip: using the school's district provided email address results in faster verification.
- Verify the information entered is correct, including school, name, and email address. If correct, check the box to confirm as a teacher and select Next. To change anything, use the Back button.
-
An email containing the verification code is sent to the email address provided. Enter the verification code and select Verify email.
To change anything, use the "review your registration information" link.If you have been auto-verified and you don't have an existing account, the application prompts to enter a username on the next screen. Usernames must be unique.
If you already have an account, the application prompts you to use your existing account or create a new account.
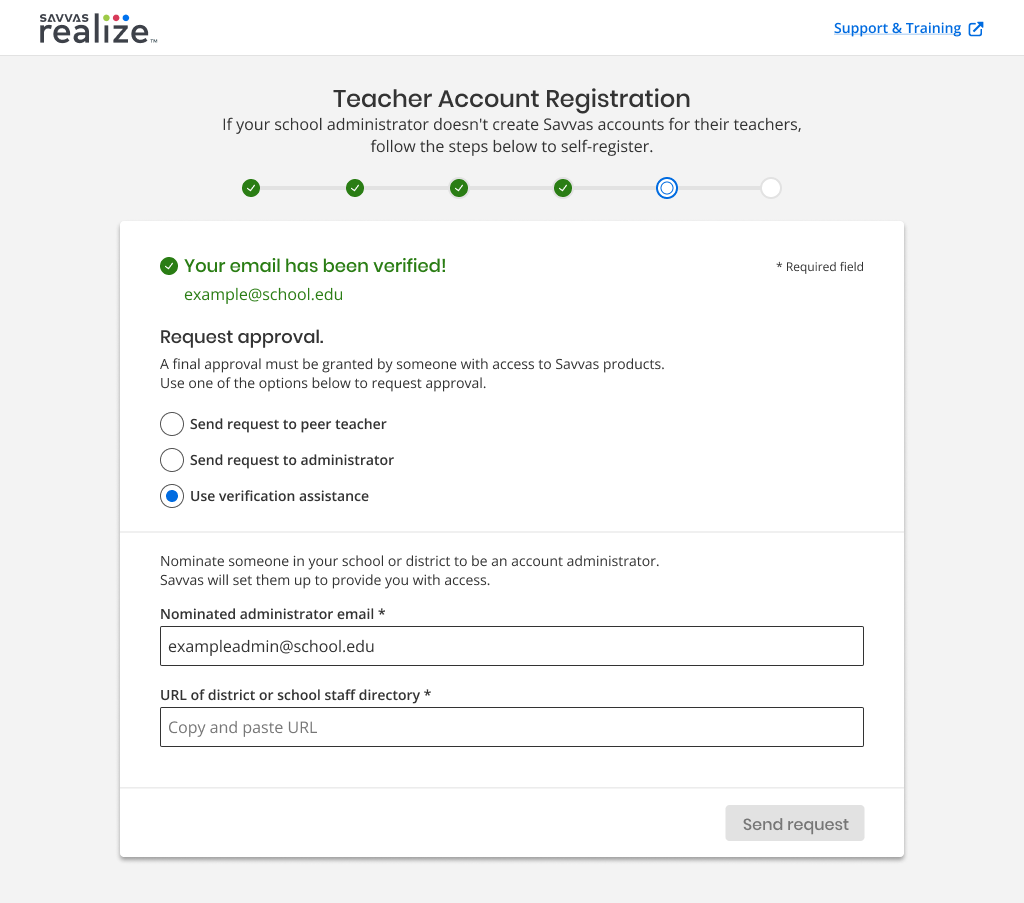
-
If peer teacher request is not available, by default, the application sends the request to a designated admin. If peer teacher is available, please select the option to send request to administrator. Once the invitation has been approved, the teacher receives an email to create the username.

- Enter username. The system automatically checks if the username is already in use, too short, or available.
A message displays on screen that informs to check the email for a temporary password. The email are sent from noreply@k12easybridge.com. Be sure to check the spam folder if an email with the temporary password is not received.
- Select Sign in on the email. A new browser window opens that allows the teacher to log-in using the username just created as well as the temporary password sent to the email.
The application prompts to change the password the first time log-in.
- Select the link for the desired Savvas program.